
Tim's Treks
Smugglers' Notch Road - Snow Hike
General Details
Location: Smuggler’s Notch Road- Stowe side
Month of Hike: March. Snow covered.
Difficulty: Easy/Moderate (gradual up hill travel)
Equipment: See Cold Weather Equipment on main Tim’s Trek page
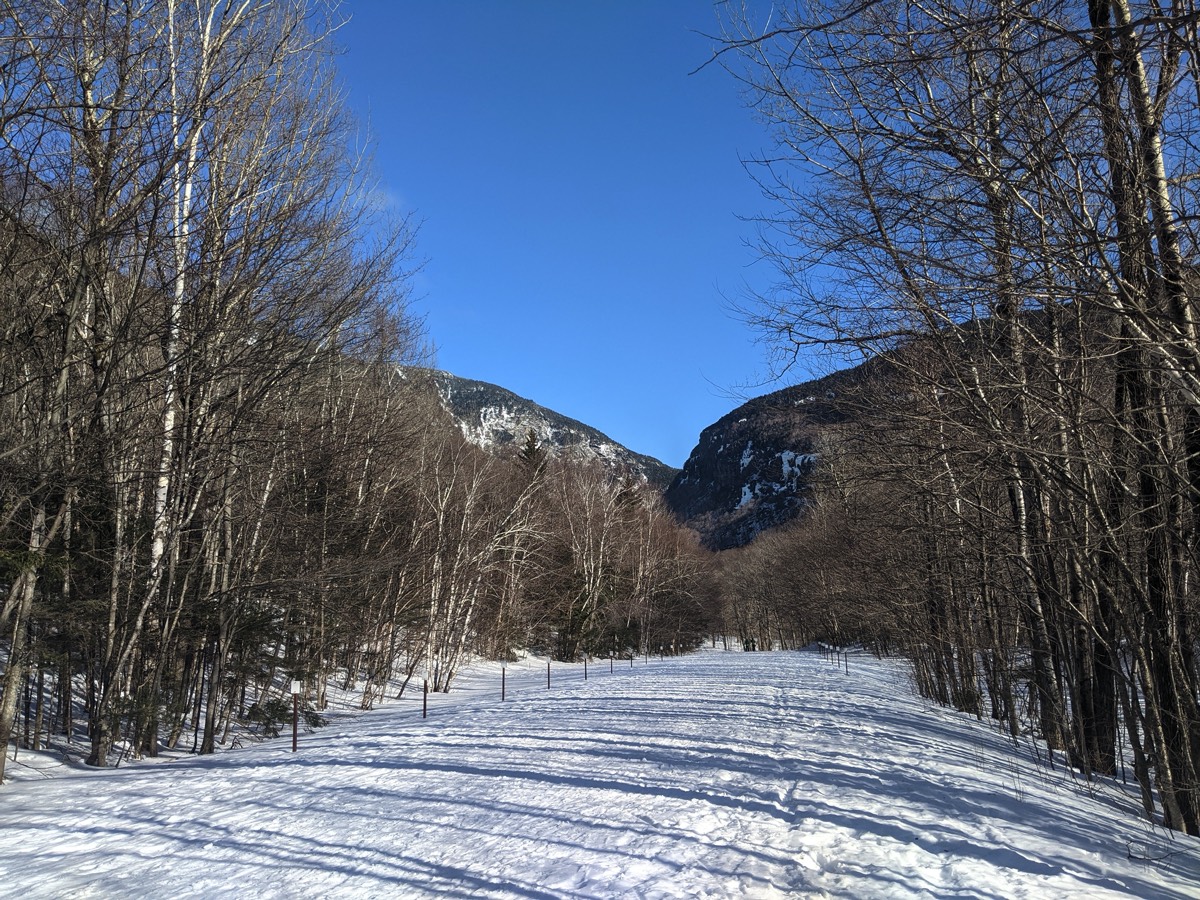
Attractions: Large boulders, view of “The Notch”, streams along the wooded paths
Trail conditions: Main roadway is usually hard packed snow and uneven frozen ground due to popular use. Thin Canopy
Loop: No
Destination: Notch Road Info building and restrooms at road’s peak.
Length: 1.7 miles
Time: (Times may vary due to personal walking speeds and breaks taken)
Hike: approximately 1 hour 30 minutes
Drive Time from Muddy Moose: 30 minutes
Elevation: Around 1100 feet gain
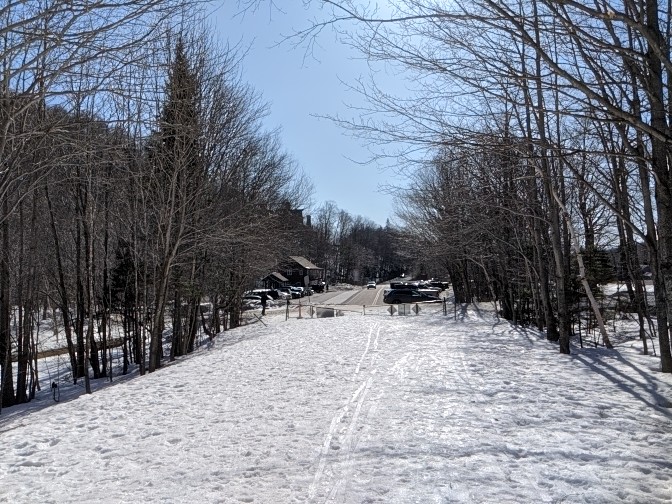
Parking Lot
Parking at Barnes Camp
Small and packed (recommend carpooling)
Dog: 100% dog friendly. Please be mindful of other trail users (watch out for skiers). Leash is highly recommended, as this is a popular location.
Restrooms: Barnes Camp (trail head) has bathrooms. Port-a-johns at a picnic area part way up trail are closed due to Covid and restrooms at the top are closed during winter.
Directions: Departing from Muddy Moose, Take Cote Hill Rd, At 4way intersection (Black Diamond on right) turn Right onto Stagecoach Rd. Continue on Stagecoach until the end. Turn Right onto Pucker Street (VT-100s). Turn Right onto West Hill Rd (before Shaws). Turn Left onto Mayo Farm Rd and take that until the end. Take a Right Turn onto Weeks Hill Rd. Take the first left onto Cape Cod Rd. Continue on Cape Cod Rd until the end. At T-intersection (Stoweflake on right) turn Right onto Mountain Rd (VT-108 N). Follow the road until the end. Just past Stowe Mountain Resort is Barn’s Camp Visitor Center this is your parking destination. The road past that is closed and will be your trail head. (Reverse these directions for direct return to Muddy Moose).
Month of Hike: March. Snow covered.
Difficulty: Easy/Moderate (gradual up hill travel)
Equipment: See Cold Weather Equipment on main Tim’s Trek page
Attractions: Large boulders, view of “The Notch”, streams along the wooded paths
Trail conditions: Main roadway is usually hard packed snow and uneven frozen ground due to popular use. Thin Canopy
Loop: No
Destination: Notch Road Info building and restrooms at road’s peak.
Length: 1.7 miles
Time: (Times may vary due to personal walking speeds and breaks taken)
Hike: approximately 1 hour 30 minutes
Drive Time from Muddy Moose: 30 minutes
Elevation: Around 1100 feet gain
Parking Lot
Parking at Barnes Camp
Small and packed (recommend carpooling)
Dog: 100% dog friendly. Please be mindful of other trail users (watch out for skiers). Leash is highly recommended, as this is a popular location.
Restrooms: Barnes Camp (trail head) has bathrooms. Port-a-johns at a picnic area part way up trail are closed due to Covid and restrooms at the top are closed during winter.
Directions: Departing from Muddy Moose, Take Cote Hill Rd, At 4way intersection (Black Diamond on right) turn Right onto Stagecoach Rd. Continue on Stagecoach until the end. Turn Right onto Pucker Street (VT-100s). Turn Right onto West Hill Rd (before Shaws). Turn Left onto Mayo Farm Rd and take that until the end. Take a Right Turn onto Weeks Hill Rd. Take the first left onto Cape Cod Rd. Continue on Cape Cod Rd until the end. At T-intersection (Stoweflake on right) turn Right onto Mountain Rd (VT-108 N). Follow the road until the end. Just past Stowe Mountain Resort is Barn’s Camp Visitor Center this is your parking destination. The road past that is closed and will be your trail head. (Reverse these directions for direct return to Muddy Moose).
The Story….
“The Notch” is a beautiful year-round area to explore. This road is a scenic driving/travel destination during the warm months but is closed to vehicular traffic in the winter. That makes it an ideal spot for winter hikers, snowshoers, both cross country and backcountry skiers and ice climbers. This blurb focus’ on hiking the road while it is closed.
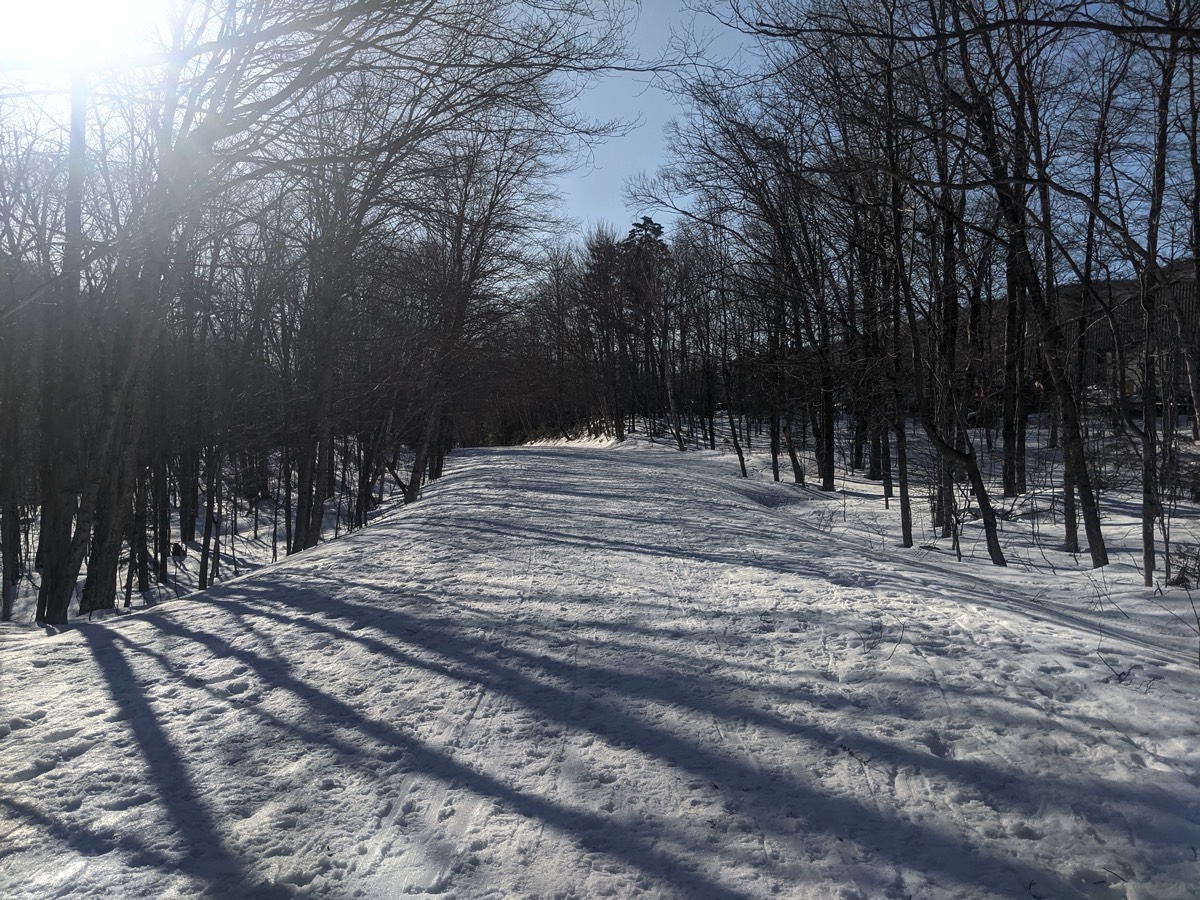
Let’s talk trail (road in this case)... The entirety of the hike is a snow covered paved road. I keep saying that the road is narrow, but for pedestrian use, there is plenty of space for people to spread out. The first leg of the hike traverses a gradual, mostly level path while still maintaining an uphill direction. The second segment is where the difficulty “increases“ as it turns into a proper uphill assent.
This is a winter hike, so winter equipment is highly recommended,. Simple walking is best achieved with snowshoes to avoid post-holing*. If you are a fan of cross country skiing or ice climbing this is a good place for easy access. Since my hike was in March, I was able to get away with spikes for the snow was hard packed and frozen over. So before setting out, take a look at the weather conditions to best plan for what is needed. I would not recommend just boots.
Learning from Experience: Due to the cold, the water in my hydration pack tube froze. Thankfully I had a reserve water bottle in my bag in the event that something happened to my main water supply. This freezing is best contributed to my hydration bag being a summer bag. There are winter hydration bags with insulation for the typically exposed water tube.
As for appropriate hiking attire, I am a fan of multiple lite/mid weight layers versus one or two heavy/bulk layer(s) of clothing when it comes to winter environment hiking. This allows for a greater range of control over regulating your body temperature as you walk or rest during your time outside. I find myself shedding layers (mostly upper-body) as I am actively moving and then when resting putting those layers back on.
Backpacks: Even if you don’t have a hydration pack (I am a huge fan), I would encourage, regardless of the season, to bring a backpack for holding all your items (lunch, snacks, water, hiking poles, medical supplies, etc.) This help keeps your hands free, things are out of the way, and just makes the over all hiking experience more enjoyable. That being said, a good backpack makes a huge difference over an uncomfortable bag.
In conclusion, this is a great hike. Not only is it easily accessible, it is suitable for all ages and skill levels. Through the thin tree canopy you will see great views of the gap. The grandeur of the large boulders is not diminished due to the snow cover. If you pick the right day, I promise you will not be disappointed.
Pictures- In future installments of Tim’s treks there will be more photos. Like the frozen water in my hydration pack, my phone “died” due to the cold. I would recommend for winter hikes to keep your phone in your jacket under several layers, as close to your body as possible - not in your pants, like I did.
Thank you for reading I hope you enjoyed!
*Post-holing: A winter hiking term referring to the action of ones foot breaking through the snow surface leaving behind a deep hole. Post holing is potentially dangerous for the one creating the hole and for future hikers who might happen upon the hole unexpectedly.